Self-Portrait

Maria Schalcken, Self-Portrait of the Artist in Her Studio (detail), about 1680. Oil on panel. Gift of Rose-Marie and Eijk van Otterloo, in support of the Center for Netherlandish Art.
Maria Schalcken, Self-Portrait of the Artist in Her Studio (detail), about 1680. Oil on panel. Gift of Rose-Marie and Eijk van Otterloo, in support of the Center for Netherlandish Art.
Learn how to draw a self-portrait using your MFA art kit or materials from home.
Many artists in the 17th century made their living by painting portraits. These works were commissioned to celebrate an important event in someone’s life or to showcase their status in society. In addition to creating paintings of other people, some artists also used mirrors to paint self-portraits, or pictures of themselves. Landscapes, buildings, clothing, and objects were included not just for decoration, but as clues for the viewer to learn more about the person in the painting. Artists also used self-portraits as an advertisement to demonstrate what they like to paint as well as their process.
In the 17th century many Dutch and Flemish women were writers, musicians, and scientists, while others became professional artists. Take a look at this Self-Portrait of the Artist in Her Studio by Maria Schalcken. Sometimes artists choose to paint themselves in the moment before starting a painting or when they are halfway through. This one shows the completed painting. The way she is holding her palette, brushes, and maulstick—her artist tools—directs the viewer’s eyes to the finished work. What else can you discover?
This painting was once attributed to her brother and teacher, Godfried. However, conservation treatments in 1998 revealed her signature in the upper left corner, making it clear that it is a self-portrait. This is one of only two known paintings by the artist.
This art activity was inspired by the opening of the Center for Netherlandish Art and the New Galleries of Dutch and Flemish Art.
Photos and instructions courtesy of Gabrielle Eisenberg.
Materials

You will need:
- graphite drawing pencils in variety of hardness grades (see “About the Materials” below)
- a kneaded eraser
- a sketchbook or drawing paper
- mirror
- a pencil sharpener
- a pencil case (optional)
- Portrait Drawing Guide (PDF)
About the Materials
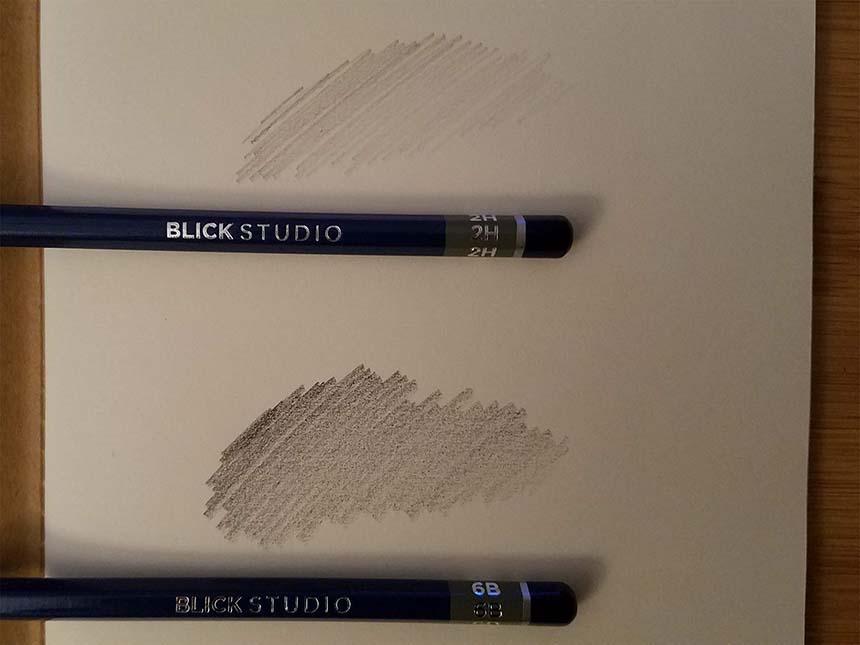
Graphite drawing pencils can be found in varying grades of hardness. The pencils in the picture above are 2H and 6B. “H” pencils have harder lead and make lighter marks, and “B” pencils have softer lead and make darker marks. H pencils are excellent for sketching and B pencils are great for creating darker values in your drawing.

This grey rubber eraser can be kneaded to form different shapes. It works by absorbing lead particles on your paper. First, unwrap your eraser. Then, try smooshing, squishing, and stretching it to make it softer.
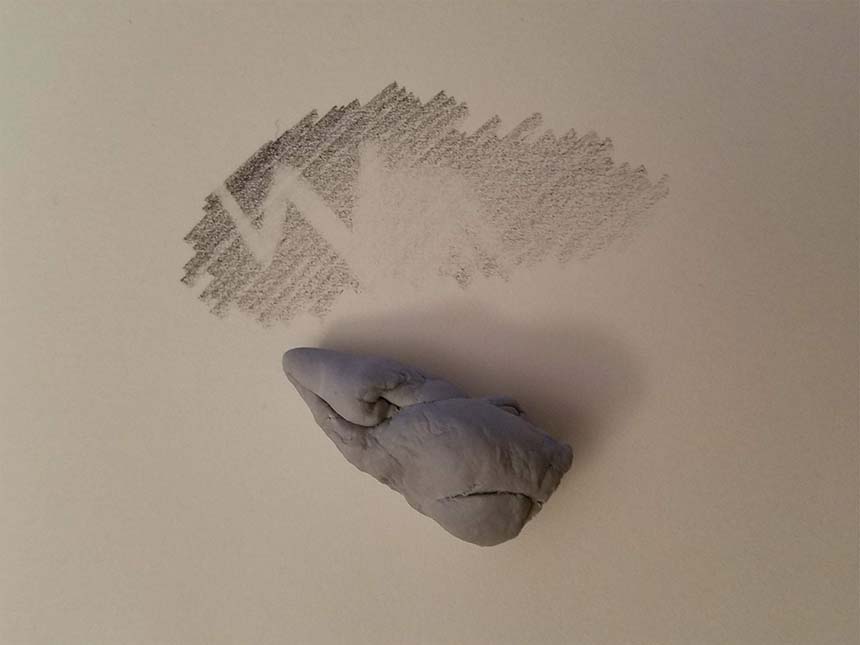
Once the eraser is softer, you can make it as wide or narrow as you like. The eraser in the picture above has been shaped into a point and used to “draw” into the shaded area!
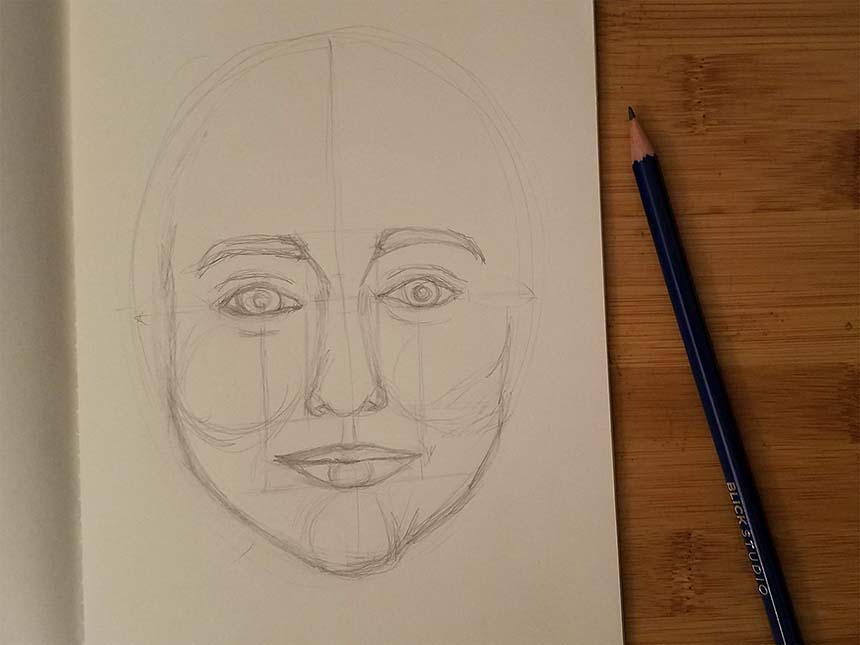
Instructions
Step 1

Step 2

Step 3

Step 4

Step 5

Step 6
Step 7

Step 8

Step 9
Step 10
About the Artist
Gabrielle Eisenberg is an educator and artist living in Boston. Originally from central Massachusetts, she received her BFA in painting from Boston University and currently enjoys making pen and ink creations. Gaby has a demonstrable commitment to arts accessibility and community arts. Her professional experience includes an internship with the Philadelphia Mural Arts program, teaching an after school art class at the East Boston Early Education Center through ARCK, and working as a Summer Arts Instructor at the United South End Settlements in Boston. At the MFA Gabrielle is the Community Arts Liaison with the Vine Street Community Center.
Sponsors
These art kits are made possible by the Center for Netherlandish Art, Museum of Fine Arts, Boston.
The founders of the Center for Netherlandish Art are Rose-Marie and Eijk van Otterloo and Susan and Matthew Weatherbie.